

How To Clean Epdm Roof Prior To Patching
How to Repair an EPDM Rubber Roof • Correctly • Step-by-Step
Roof Online Staff
Too meet our EPDM Roofing page.
See More Roofing Topics
Table of Contents
- What You Will Need
- How to Do It
- EPDM Repair: Membrane Punctures
- Clean the Membrane
- Install the Patch
- Terminate
This guide provides footstep-past-stride instructions so you lot tin repair an EPDM rubber roof yourself. EPDM rubber is one of the easiest roofing materials to repair properly.
It is extremely important that you lot follow the membrane cleaning instructions or your patch volition neglect.
What You Will Need
DIY EPDM Repair Kit: This is likely to be the easiest option, every bit these kits have everything you lot'll need except for a caulk gun or scrub brush, and they have an appropriate amount of each cloth, so you don't finish up with a lot of something left over.
I or ii holes: See this repair kit (yes, it volition work on a roof).
For more extensive repairs:See this repair kit on Amazon.
–OR–
Tools
- Caulk Gun (See on Amazon)
- Cleaning Brush, Soft-Bristled (Run across on Amazon)
- Cleaning Rags
- Paint Brushes (See on Amazon)
- Scissors, Heavy-Duty (See on Amazon)
- Seam Roller, Handheld (See on Amazon)
Materials
- EPDM Safety Membrane, at least 0.060″ thick (threescore-mil) (Run into on Amazon) or Skin-and-Stick EPDM Encompass Tape/Patching Record (See on Amazon). Do NOT utilise Seam Tape.
- Lap Sealant (Meet on Amazon)
- Splice Adhesive (Meet on Amazon)
- Splice Primer (See on Amazon)
- Weathered Membrane Cleaner (See on Best Materials)
How to Do It
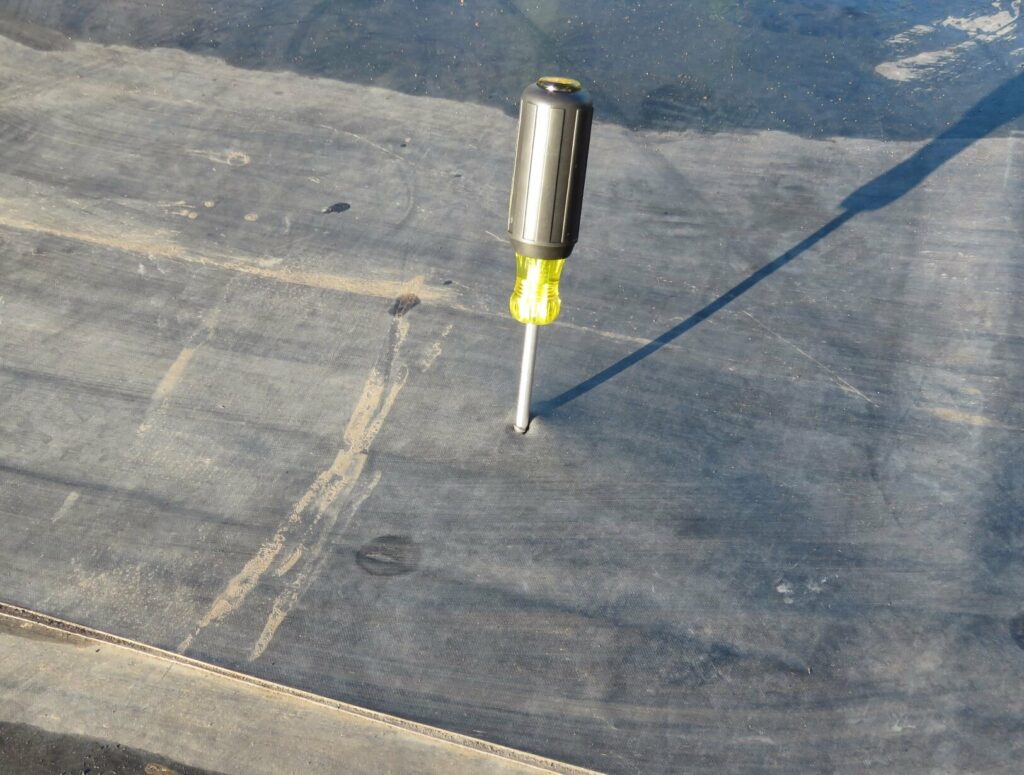
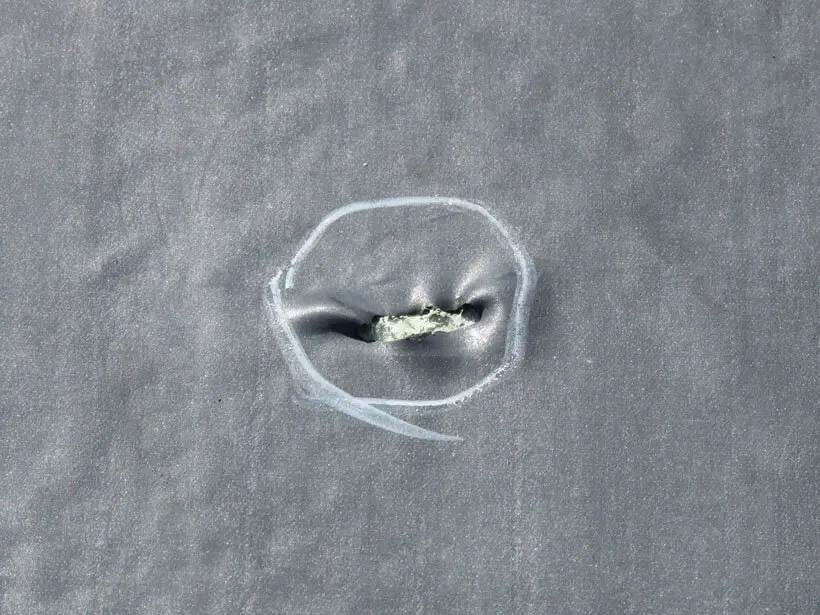
EPDM Repair: Membrane Punctures
Repair an EPDM rubber roof membrane puncture with a piece of EPDM rubber membrane or EPDM embrace tape.
The repair must extend a minimum of iii inches beyond the edge of the hole in all directions.
Cutting an appropriate-sized piece of EPDM membrane or EPDM tape.
Round all corners of the repair piece with pair of scissors or shears.
(Case: Even a pinhole will require a 6″ 10 half-dozen″ patch.)
Clean the Membrane
When yous repair an EPDM condom roof membrane which has been in service for some time, it isadmittedly vital that you lot remove the accumulated field dirt.
It is very common to seefailed EPDM repairs, even when they were done by professional roofers, due to the erstwhile membrane non beingness cleaned or non existence cleaned thoroughly enough. Fine particles of carbon blackness migrate out of EPDM membranes equally they age, and so even a membrane that looks fairly clean will take a layer of black soot-like material on its surface.
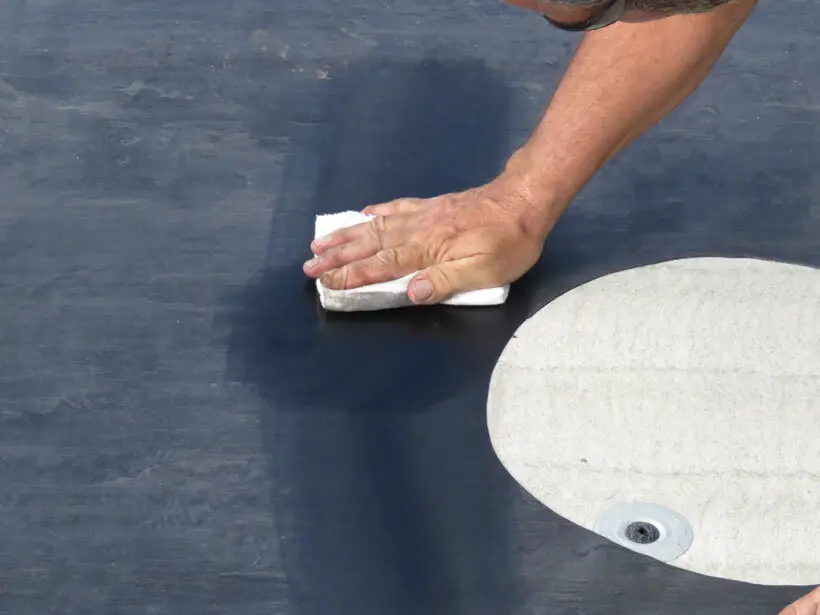
Proper membrane preparation is achieved past outset scrubbing the membrane with a soft-bristled scrub brush (exercise Non use a brush with wire bristles) and warm soapy water, then rinsing with clear water. Echo this process until all of the dirt is gone, and then dry out the surface area with a clean cotton fiber rag.
And so clean the area over again using weathered membrane cleaner. A 2nd cleaning with weathered membrane cleaner is often necessary.
Apply EPDM splice primer to the clean area and allow it to dry.
Install the Patch
(Annotation: If you are using a self-adhering peel-and-stick EPDM patch or record, you should not employ adhesive to the patch.)
- Prepare the Splice Agglutinative and Apply information technology with a Brush: Thoroughly stir the splice agglutinative before and during utilize. Apply the splice adhesive using a 3-inch- or 4-inch-wide past 1/2-inch-thick solvent-resistant paint castor in a thick, even, smooth coat with long, painting-style strokes, so that the marks from the brush disappear, yielding a shine, glossy adhesive surface. Apply splice agglutinative to both mating surfaces (on the roof and on the patch) at about the aforementioned fourth dimension, and then equally to allow approximately the aforementioned drying time. Do not use a circular movement to apply the splice agglutinative. Practice not employ paint rollers or spray equipment to use the splice agglutinative!
- Utilise Extra Adhesive at Cross Seams: If your patch intersects a field seam (where the installers joined ii sheets) or a factory seam (where two pieces were joined at the mill to create a single manufactured sheet), make one short back stroke at each seam your patch crosses to apply actress adhesive at the step-off.
- Test Splice Agglutinative for Readiness: Allow the splice adhesive to wink off. Touch on the agglutinative surface in the heart of the area to be patched to be sure that the adhesive does not come up off and stick to your finger. As yous are touching the adhesive, push lightly straight down to check for stringing, and also push forrad on the agglutinative at an bending. If either movement exposes wet or stringy agglutinative when you lot lift your finger, then information technology is not however set up for mating and needs more fourth dimension. Wink-off fourth dimension volition vary depending on the temperature and humidity of the ambience air.
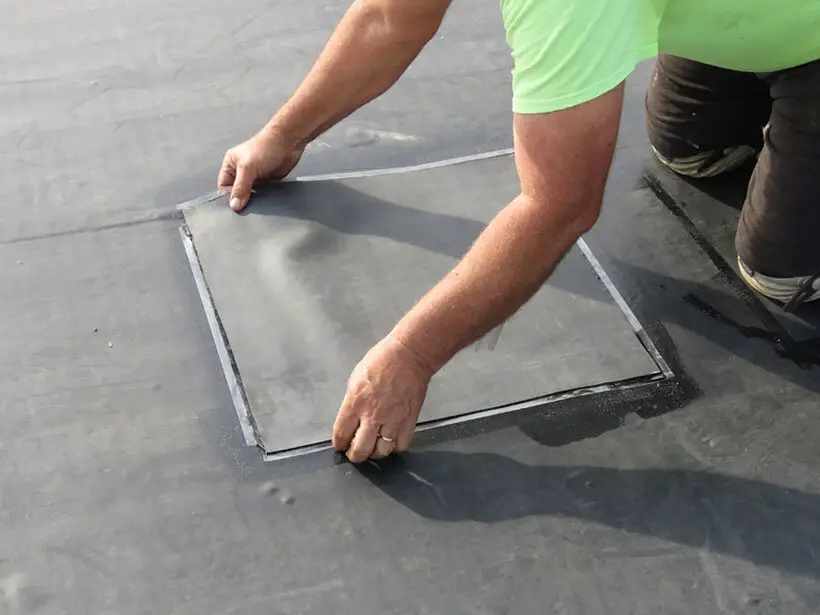
- Fix the Patch (Using Applied Adhesive): Lightly position the patch over the prepared membrane area. Starting at one edge, permit the patch to fall slowly and loosely onto the area with a rolling movement, without stretching or wrinkling the patch.
- Set the Patch (Using a Pare-and-Stick Patch): Place the patch onto the prepared area. Firmly hold 1 border of the patch in identify with 1 hand. With the other hand, starting from the edge that you are property, slowly pull off the release motion picture/paper, allowing the patch to settle loosely onto the prepared area as you go. Go on the patch as close to the roof membrane as you lot can to prevent wrinkling.
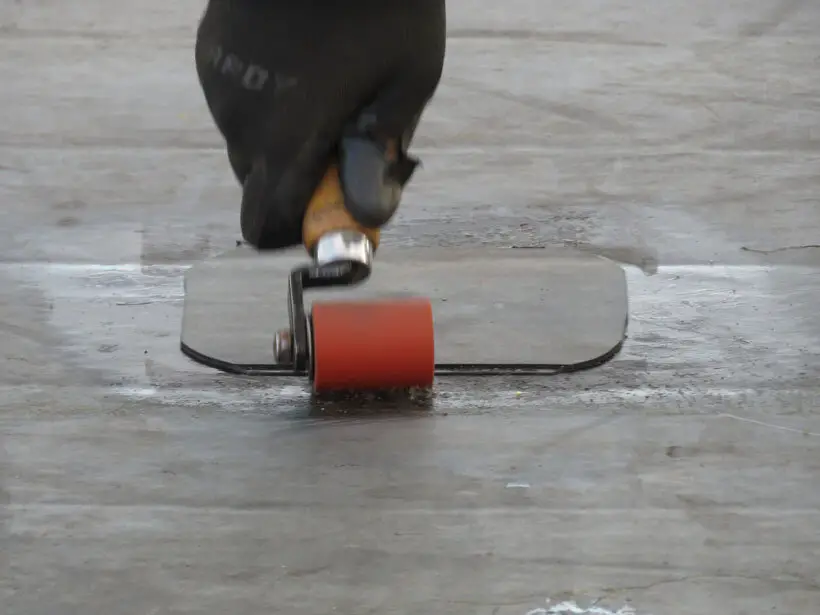
- Utilize Pressure level and Roll the Patch:
Apply pressure forth the unabridged surface area of the patch by manus to completely mate the 2 surfaces.Using a handheld seam roller, roll the unabridged patch with firm, heavy pressure going from the center toward the outside edges of the patch.
- Wait Before Applying Lap Sealant:
Wait to use lap sealant at to the lowest degree 4 hours after applying the patch, unless pelting is coming.
If rain is probable, the lap sealant must be applied before the rain starts. If weather is not an issue, the lap sealant must be applied no later than the finish of the post-obit solar day.
Try to make the repair on a day when rain is not in the forecast.
- Make clean the Border of the Patch:
Clean the edges of the patch a minimum of i inch on each side of the edge itself using clean cotton rags and weathered membrane cleaner.
Employ splice primer to this area and let to dry.
- Apply Lap Sealant
Using a standard caulking gun, employ a thick, continuous bead of lap sealant effectually the unabridged patch, about 3/eight-inch wide, centered on the verbal edge of the patch.
Smooth down the sides of the bead of lap sealant immediately, taking care to exit the sealant very thick directly over the lap edge.

Finish

Source: https://roofonline.com/materials-systems/epdm-roofing/repair-epdm-roof/#:~:text=Proper%20membrane%20preparation%20is%20accomplished,with%20a%20clean%20cotton%20rag.
Posted by: craftauneance.blogspot.com
0 Response to "How To Clean Epdm Roof Prior To Patching"
Post a Comment